-

Now available for $24.95 including shipping. -

Now available for $21.00 including postage. Vendors I Like
 Click Here to buy from Cobrahead
Getting Your Tools Ready for Spring
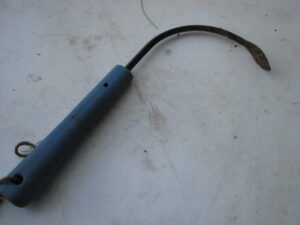
The CobraHead weeder is my favorite weeding tool
Everyone I know is thinking about spring – despite the fact that we could still see snow and sub-zero temperatures before we see tulips. This might be a good time to take an inventory of your tools to see if you have everything you need, and buy the ones you need. This is also a good time to clean up, sharpen and oil the tools you have.
- Garden fork. This is a straight-handled tool with 4 flat tines that can be used to loosen the soil for planting, or to dig out things like a clump of daylilies. These come with either fiberglass or wood handles, and I always choose wood. Both handles can splinter over time, but an oiled and well-maintained wood handle will out-last fiberglass. I have some wood-handled tools still in great shape after over 50 years of regular use.
- Pointed shovel. I like the short D-handle shovel better than those with a long straight handle, but that is for you to decide. The short handle model is lighter weight, and has a nice grip. A pointed shovel digs into the soil more easily than a straight-blade spade.
- Garden rake. This is the rake that has short tines space an inch or so apart. It is good for smoothing the soil or forming raised beds.
- Lawn rake. There are a dozen different styles, and all will do the job. The old fashioned bamboo rake is nice, but the tines do break after a while. Plastic rakes are light-weight, but also break after a few years. I prefer those with metal tines.
- Drain spade. This is a shovel that has a blade that is long and narrow (16 inches long, 5 inches wide). Great for transplanting, it can get all the way under a plant to help you pop it out of the ground.
- Hand tool for weeding. There are plenty, but I like the CobraHead Weeder best. It is a hand tool shaped like a curved finger, and can loosen roots from below while you give a gentle tug from above. I use it to loosen the soil for planting, too. Available at garden centers or www.CobraHead.com.
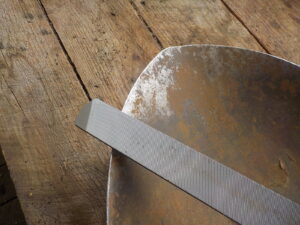
Sharpen the inside edge of your shovel
Tools require some maintenance, and this is the time to sharpen, clean and oil them if you didn’t do it last fall. Fiberglass handles generally require no maintenance, though I suppose you could take off any rough spots with steel wool or sandpaper.
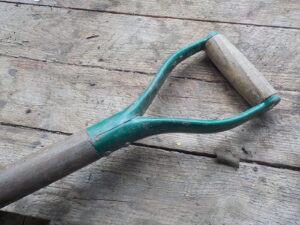
I like shovels with a D-handle for a good grip
Let the oil sink into the wood, which might take overnight or just a few minutes, depending on the grain and how dry the wood is. Never try to oil a wet handle. Apply a second coat and let dry. Then rub it down with a fine steel wool, labeled 000 or 0000. This will take off any bits that are raised up by oiling and burnish the wood.
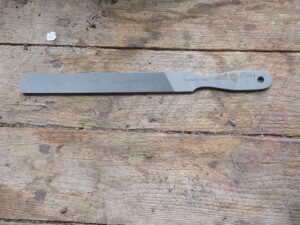
This file is a double-cut file, called a mill bastard
Go from the edge of the curve to the middle in one long stroke of your file, and repeat, keeping count of your strokes. Turn the shovel around and do the opposing edge, using the same number of strokes. Keep your file at the angle set by the manufacturer if that is evident. If not, an angle of about 45 degrees is good. That will make a sharp cutting edge, but not be so thin that it will get dull quickly. You don’t need to sharpen the sides. And don’t worry: You can’t ruin your shovel even if you have never done this before. Just keep at it, and stay consistent.
Putting Away Garden Tools for Winter
By now most of us have put our gardens to bed. I’ve yanked the vegetable carcasses from my garden and piled the decaying bodies on the burn pile. I’ve cut down some of my perennial flowers, although I’ve left others to stand proud in winter and offer seeds to the finches and chickadees. I’ve pulled some of the weeds in my flower beds, and pretty much gotten them out of the vegetable garden. I’m in the process of chopping up the leaves on the lawn, and hope to rake them onto a big blue tarp on the next sunny day and use them as a winter blanket in the vegetable garden.
What I have not done, and am betting you have not done either, is to get my tools ready for winter. It’s always one of the last thing I do before my annual hibernation. This is a good time to work on your tools.
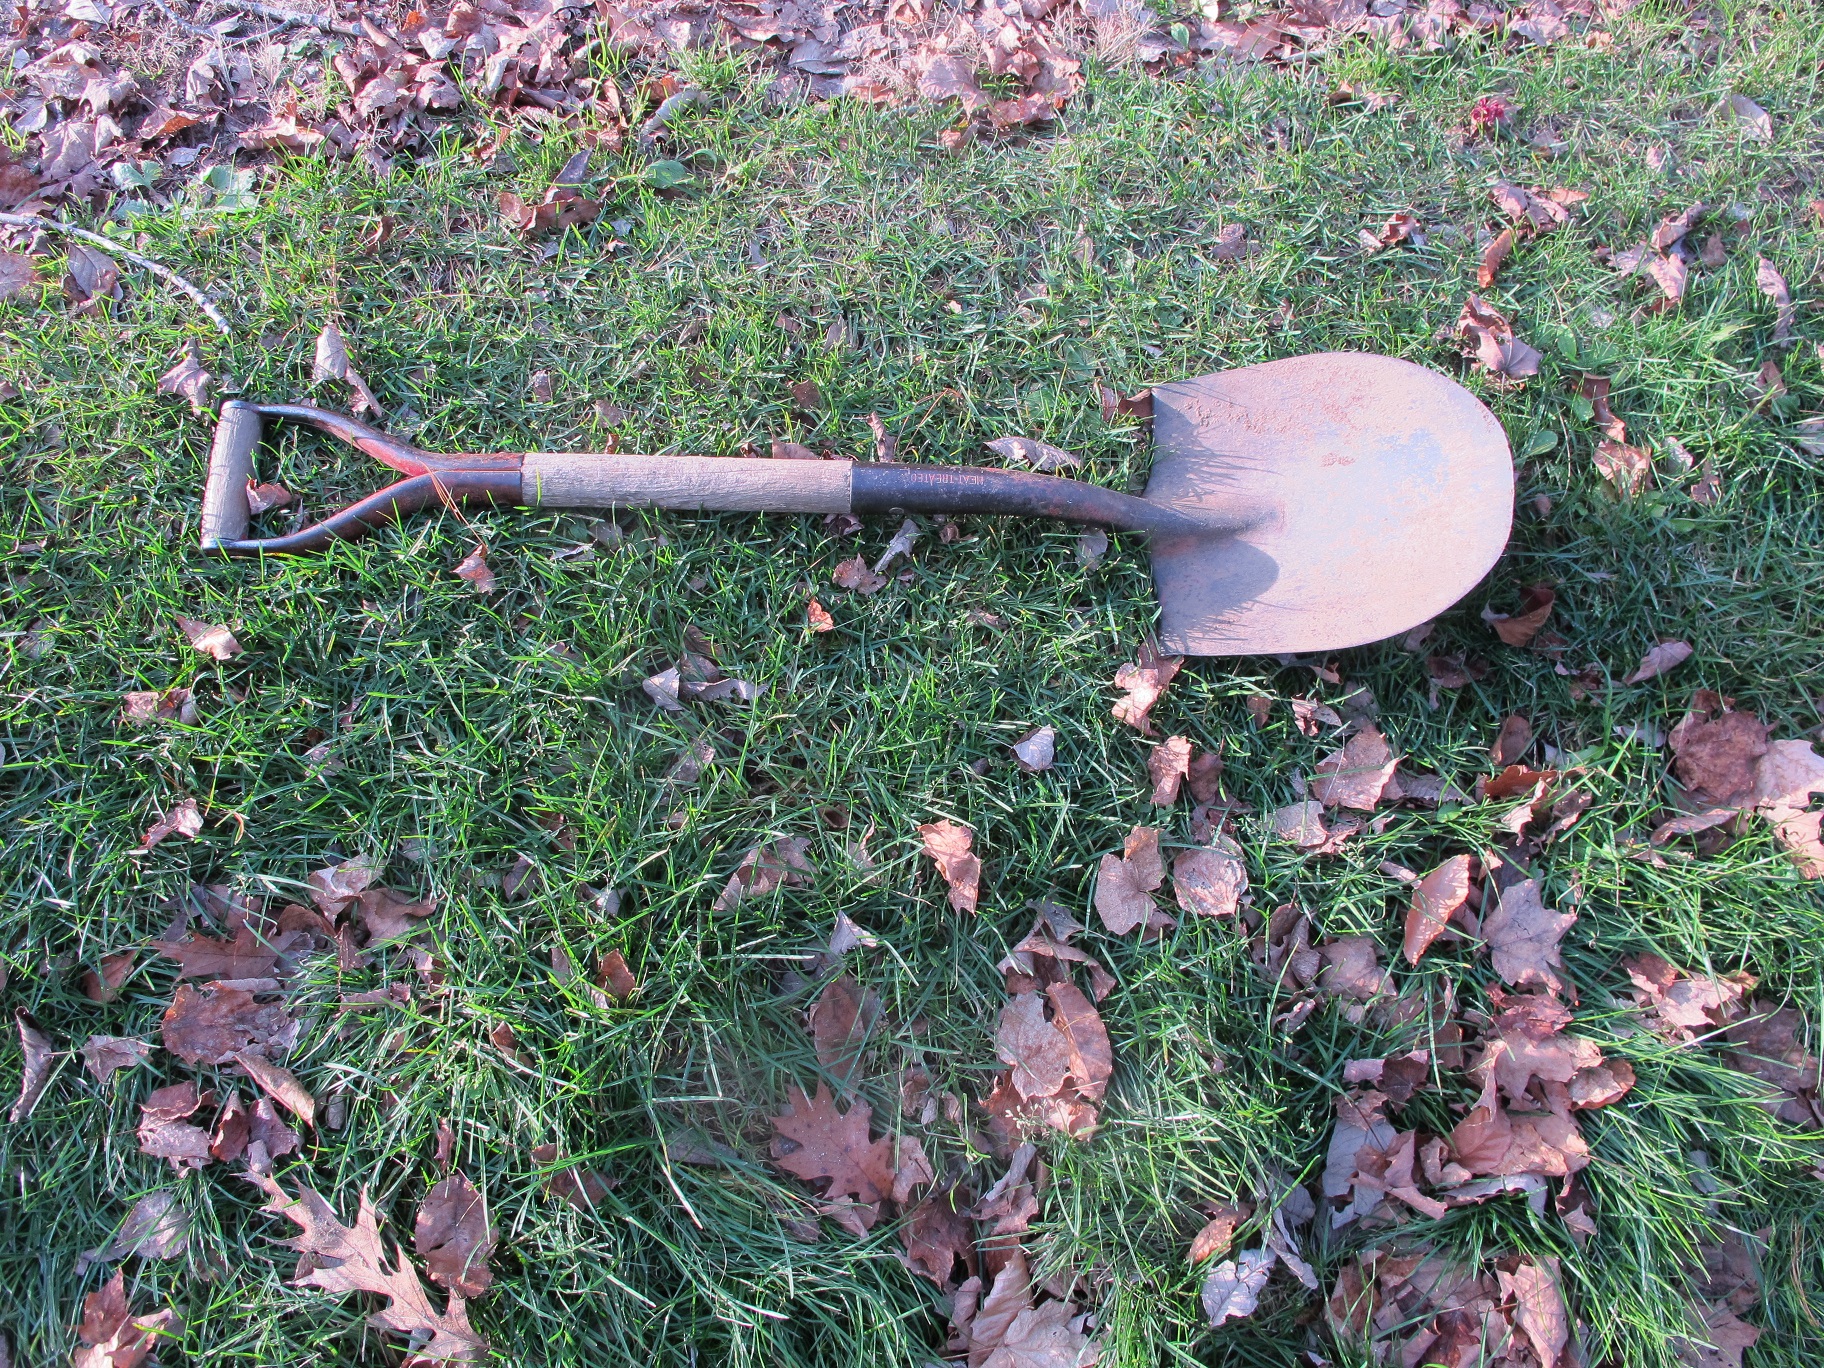
60-year old shovel ready for annual linseed oil treatment
As a man of certain age – past 60 that is – most of my tools have wooden handles. Yes, I have a few new fiberglass-handled tools, but many of my tools were used by my grandfather and/or my parents before me. I treasure them knowing that 3 generations of sweat has seeped into the wood, giving the tools a nice dark polished look. That patina is enhanced by an annual application of boiled linseed oil.
Late each fall I take some time to polish the wooden handles of my hand tools and sharpen the blades, where appropriate. Using medium to fine grit sandpaper I rub out any rough spots or potential splinters on the wooden handles. Then I polish the handles a little more with some fine steel wool and wipe them clean. Lastly, I use a paintbrush to apply several coats of linseed oil and let it soak in. That keeps the handles from drying out – and a well oiled handle rarely breaks or gives splinters.
My father always painted some red “Rustoleum” paint on the metal parts of garden tools to make them easier to find and to identify them as his. I found one of his old shovels in the back of the barn this year and saw that the handle was dry and cracked – I had not used it or maintained it in years. I sandpapered the many rough spots before polishing with steel wool and the applying 3 coats of linseed oil. I just kept reapplying the oil until it stopped soaking in.
Hoes and shovels work best when kept sharp. You can sharpen them on a bench grinder or with a rough file or a whetstone. I have a grinder with a stone wheel, but rarely use it – it’s too easy to take off too much metal. Before sharpening a tool, study the angle of the blade – hoes and shovels are only sharpened on one side (the inside) and all you need to do is mimic the original angle, drawing the stone or file over the blade in consistent, even strokes.
A wire brush is a good tool for cleaning up the metal blades of tools – I use it to get off rust. I like to use a rag with a little linseed oil on it to oil the metal. Something like WD-40 would work, too, and even get off some rust, but I don’t particularly want to introduce chemicals and petroleum products to my soil next spring – even in small quantities.
Most hand tools nowadays have plastic handles that require no maintenance, and edges of steel so tough that sharpening is not required. But it makes sense to wipe off accumulated grime with a moist cloth and get any dirt of the blades.
Lawnmowers, chain saws and string trimmers can use a little maintenance at this time of the year, too. Even though gas stabilizers are sold, most small engine mechanics I have spoken to suggest just running your machines until all the gas is used up rather than introducing an additive. That requires some planning, especially for riding mowers that can hold lots of gas. But gas loses some of its oomph over the winter – the volatile elements evaporate and escape, so it is best of empty the tank.
If you can tip your mower on its side to clean out the accumulated grass that is attached to the mower deck, great. I know that some mowers also have ports where you can attach a hose to blast the grass off (my riding mower came with one) but I find they don’t really do the job – especially if you don’t do it every time you use the machine. Even reaching under the mower when it is off and cold and pulling out the grass helps, or scraping with a putty knife. What you don’t want is accumulated gunk that holds moisture, causing your mower to rust.
Cleaning up my machines and tools is not very high on my list of fun things to do on a Saturday morning. But I recognize that doing so will extend their lives and, for wood-handled tools, add to my enjoyment of them next spring. So have at it. Your grandchildren may use some of your tools one day – if you keep them well maintained.
Henry Homeyer is the author of 4 gardening books. His web site is www.Gardening-Guy.com. He lives in Cornish Flat, NH.